Why Your Depth Sounder Lies to You
Depth sounder troubleshooting has gotten complicated with all the conflicting advice flying around. As someone who has white-knuckled an unfamiliar anchorage at dusk while my chartplotter swore I had twelve feet under the keel when the chart showed thirty, I learned everything there is to know about this problem. Today, I will share it all with you.
Here’s the thing — 80 percent of bad readings trace back to three specific culprits. The transducer itself, fouled or cracked or just losing contact with the water. The wiring run between that transducer and your display, which salt spray and vibration slowly destroy. And the display settings, where one miscalibrated offset turns perfectly good data into fiction.
Start at the transducer. Work toward the display. Check settings last. That sequence alone saves most sailors a $400 parts mistake.
Check the Transducer First — It Is Almost Always the Culprit
But what is a transducer? In essence, it’s a disk-shaped sensor mounted to your hull that fires sound waves downward and listens for the echo. But it’s much more than that — it’s the only part of your entire depth system that actually touches the underwater world. Anything between its face and clean water is a problem.
Physical inspection at the dock
Haul out, hire a diver, or snorkel it yourself if the water is shallow enough. Look directly at the transducer face. Barnacle growth — even a thin crust — creates a dead zone. So does paint overspray. I once spent two full days chasing a phantom fault on a Garmin ECHOMAP Plus 93sv after spring haul-out. Turned out the boatyard had splashed bottom paint across the transducer face. Five minutes with a soft-bristle brush fixed everything. Don’t make my mistake.
Check for cracks and impact damage too. A visibly split transducer housing is done. Salt water gets in. Readings become pure invention.
The air bubble problem
At speed, air streams along your hull and blankets the transducer face. You get erratic or vanishing depth readings that look exactly like equipment failure — but they’re not. Here’s the test: slow to a crawl or drop the hook and watch the display. Does the reading stabilize and look correct? Your transducer is fine. Your sounder unit is fine. Speed is the villain, nothing more.
The bucket test for hauled boats
Boat’s on the hard? Fill a five-gallon bucket with actual seawater — not tap water, the salinity matters — and submerge the transducer face completely. Your display should show real depth, usually a few inches to a foot depending on how deep the bucket is. No reading whatsoever? Dead transducer or disconnected cable. A number appears on screen? Move on to the wiring. That’s your next stop.
Through-hull versus in-hull transducers
Through-hull units thread directly into a fitting and contact water with nothing in between. In-hull transducers live inside the hull and transmit through the fiberglass — which makes them far more sensitive to hull thickness, core materials, and whatever crud has accumulated between the sensor face and the skin. I’m apparently running an in-hull unit on a hull with a balsa core and the Airmar B164 works for me while the cheaper no-name unit I tried before never gave a stable reading. If readings went wrong after a repair or fresh bottom job, suspect the interface changed.
Trace the Wiring Before Blaming the Unit
Corroded connectors and broken wire runs kill depth sounders constantly. The cable travels from the underwater sensor through your bilge and cabin — sometimes clipped haphazardly to bulkheads or worse, bundled with AC wiring — all the way to the back of your chartplotter or sounder head.
Inspection points
- Where the cable exits the hull. Maximum chafe, maximum UV exposure. Look for sheath cracks, exposed copper strands, or moisture inside the connector block.
- The connector itself. Pull the transducer cable from the sounder unit gently — no yanking. Check both sets of pins for green oxidation. Light corrosion comes off with white vinegar on a cotton swab; anything heavier needs replacement connectors, full stop.
- Cable routing through the cabin. Transducer wires should never run alongside 120V AC power lines. Electromagnetic interference from AC wiring scrambles analog sounder signals badly. If your installer bundled them together, separate the cables by at least 12 inches. That’s not a suggestion.
Continuity testing
Probably should have opened with this section, honestly. A basic multimeter — something like a Fluke 117, around $180, though any continuity-capable meter works — tests your cable integrity in under ten minutes. Disconnect the cable from both ends. Set the meter to continuity mode. Touch probes to matching pins at each end. You want a beep and near-zero resistance. Silence means a wire is broken inside the sheath somewhere. New cable assembly. No patching it.
Settings and Calibration Fixes on the Display Unit
So the transducer is clean, the wiring tests solid — and the reading is still wrong. That’s what makes display configuration issues so maddening to us sailors who already checked the obvious things. So, without further ado, let’s dive in.
Depth offset
This is the single most common cause of readings that are wrong without anything actually being broken. Depth offset tells your sounder whether to report depth from the keel, the waterline, or the transducer face itself. Set it to keel when your transducer mounts four feet above the keel — every reading runs four feet shallow. That’s how boats end up aground with a sounder that was “working fine.”
On Garmin units, find it under Setup → Depth → Depth Reference. On a Raymarine i70, it lives under Display Setup → Depth. Measure where your transducer actually sits relative to your keel or waterline before you enter anything. Guessing here is dangerous.
Sensitivity and gain
Gain set too low means weak echoes never register. The sounder hears nothing. Shows nothing. Looks broken. Raise it gradually — too high and you start seeing false returns from thermoclines and floating debris. Most modern units offer auto-gain. Use it. That’s what it’s there for, unless you’re working in extremely turbid water where manual control makes more sense.
Frequency mismatch
Replaced your transducer recently? If your sounder supports dual-frequency — 200 kHz and 50 kHz is the common pairing — verify the display frequency matches what your new transducer actually outputs. A mismatch produces complete silence. No signal at all. It looks like a dead unit when it’s a one-menu fix.
Alarm settings
Check your shallow-water alarm threshold while you’re in there. Some units suppress the normal depth readout when an alarm condition is active — a genuinely strange design quirk that has confused more than a few sailors. If the threshold is set high enough, it may be triggering constantly and messing with the display.
When to Replace the Transducer vs. the Whole Unit
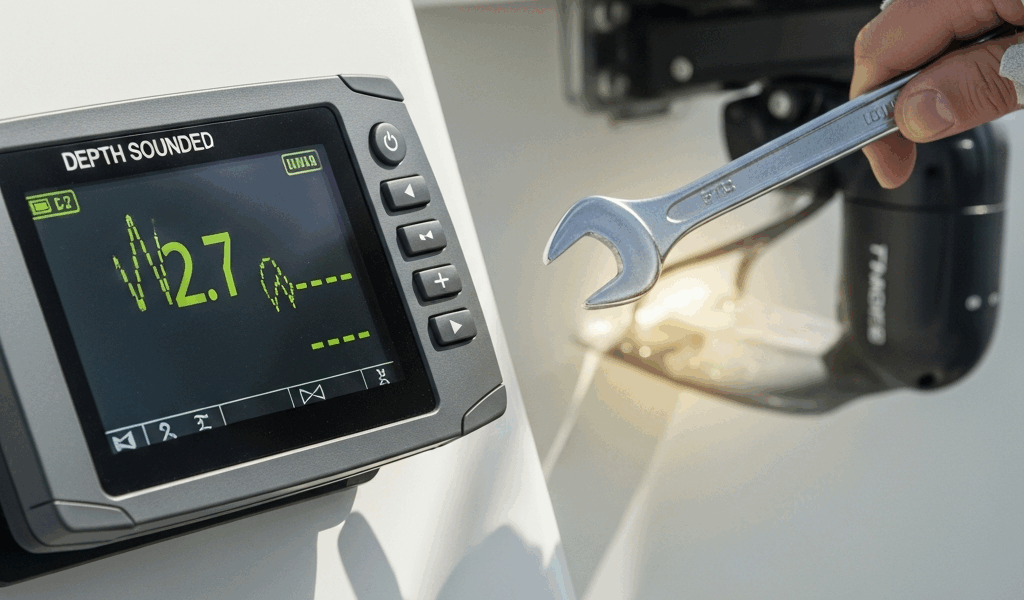
Bucket test failed, wiring is clean, settings are correct. Your transducer is dead. A quality replacement runs $300 to $600 depending on type and brand — Garmin and Raymarine both make field-replaceable units, and swapping one out is roughly a two-hour job with basic tools and marine knowledge. While you won’t need a boatyard for this, you will need a proper marine sealant, a torque wrench, and ideally a second person for the through-hull installation.
A full combo unit — sounder head plus transducer — costs $1,200 to $3,000. That math only makes sense if your display is also failing or genuinely obsolete. Don’t replace a working chartplotter because of a $350 transducer problem.
Knowing your depth isn’t optional offshore. Work through this sequence — transducer, then wiring, then settings — and you’ll find the fault yourself. No dealer call. No guesswork. Just a sounder that works and the confidence of knowing exactly why.


Stay in the loop
Get the latest sail the seas mag updates delivered to your inbox.