Lazy Jacks
Lazy jacks have gotten complicated with all the gear talk and brand debates flying around online. As someone who has spent more hours than I care to admit wrestling mainsails onto booms in 20-knot gusts, I learned everything there is to know about these deceptively simple line systems. Today, I will share it all with you.
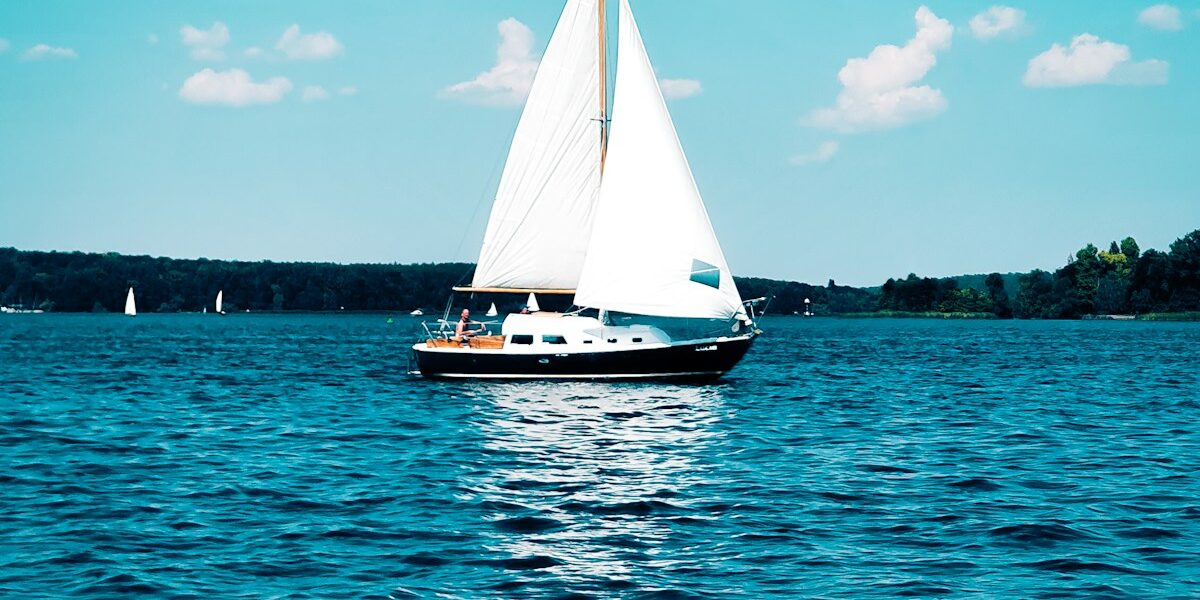
The basic idea is dead simple. You run lines from partway up your mast down to the boom, fanning them out so they form a cradle. When you drop the main, the sail falls right into that cradle instead of flopping everywhere and trying to slide off into the water. I sailed a Catalina 27 without lazy jacks for three seasons, and lowering the main solo was always a circus act. One afternoon in Chesapeake Bay, a gust hit right as I was dropping sail, and I ended up with the main draped over the lifelines and half of it trailing in the water. That was the weekend I ordered my first lazy jack kit.
- Better control when dropping the main
- Safer for solo sailors and small crews
- Less wear on your sail from flogging around
That’s what makes lazy jacks endearing to us cruisers — they solve a real problem without adding much complexity. The control thing is the big win. When it’s time to douse the sail, you just ease the halyard and the fabric stacks itself. No wrestling. No climbing on the cabin top while the boom swings around. For anyone sailing shorthanded or solo, that safety margin is hard to overstate. Less flopping also means less chafe, so your sail lasts longer.
Components and Installation
Probably should have led with this section, honestly. Installation does require some planning — you can’t just tie a few ropes to the mast and call it a day. The mounting points matter. I made the mistake of putting mine too low the first time, and the cradle barely caught the top third of the sail. Useless.
- Pick your mounting points on the mast
- Measure and cut lines to equal lengths
- Attach stainless shackles to the boom and mast
- Form the cradle by spreading lines evenly along the boom
Here is how it actually goes. You want the upper blocks roughly one-third of the way down from the masthead. I measured mine using a halyard as a reference since climbing the mast at the dock is never fun. Cut your lines precisely — each side of the cradle needs to be symmetrical or the sail dumps to one side. I use 1/4-inch Sta-Set from New England Ropes because it holds up well in salt air and does not stretch much. The shackles should be stainless — anything else corrodes fast. I learned this after replacing cheap zinc-plated hardware after one season on the Chesapeake.
Adjustments and Considerations
Once everything is rigged, you will probably spend an afternoon tweaking tension. The lines need to be loose enough that they do not interfere with the sail when it is fully hoisted, but tight enough to actually catch it on the way down. I’m apparently one of those people who fidgets with rigging constantly, and adjusting lazy jack tension became a pre-sail ritual for me while tightening the topping lift never crossed my mind.
- Check line tension before every sail
- Adjust differently for fully battened vs. traditional sails
- Inspect for chafe and UV damage regularly
Fully battened mains behave a little differently in the cradle than soft sails. The battens hold the fabric stiffer, so it stacks more neatly but can also snag on the lines if your tension is off. Traditional sails tend to be more forgiving. Either way, inspect your lines and shackles on a regular basis. Saltwater eats everything eventually. I replace my lazy jack lines every two years — they cost maybe twenty bucks, which is cheap insurance.
Operational Tips
Getting the most out of lazy jacks comes down to a few habits. Center your boom before you start hoisting. I cannot tell you how many times I watched people at the marina try to raise their main with the boom off to one side, then wonder why the battens kept catching on the lazy jack lines. It is like trying to put a letter in an envelope sideways.
- Center the boom before hoisting
- Use a topping lift or boom kicker to keep elevation
- Stow the lines when sitting at the dock for a while
A topping lift keeps the boom elevated when the sail is down, and that keeps the lazy jack lines from going slack and tangling. If you are at the dock for more than a couple of days, I tie the lines off to the shrouds to get them out of the weather. Takes thirty seconds and saves wear. Small thing, but it adds up over a season.
Common Challenges
Nothing is perfect, and lazy jacks have their quirks. The biggest headache is snagging during hoisting. You are pulling the main up, and a batten catches the line, and now you are standing there yanking on the halyard while the sail goes nowhere. Centering the boom usually prevents this, but on windy days it still happens.
- Sail snagging on the lines during hoisting
- Chafe where lines contact the sail
- Slight performance loss in very light air
Chafe is the other real issue. The lines rub against the sail fabric, and over thousands of miles, that adds up. Some people add chafe patches to their sail at the contact points, which is smart. In very light wind — I am talking under five knots — some sailors feel the lazy jacks create enough drag to hurt performance. Personally, I have never noticed it, but I am also not racing. If you are, you might care about that extra fraction of a knot.
Alternatives and Complements
Boom furling is the fancy cousin of lazy jacks. Instead of catching the sail in a cradle, you roll it right into the boom. It is tidy and elegant, but it costs a lot more and adds mechanical complexity. A stack pack is probably the best companion piece — it is basically a fabric sleeve that works with lazy jacks to enclose the sail completely when it is down. I added one to my boat two years ago and honestly wish I had done it sooner.
- Boom furling systems (neat but expensive)
- Stack packs (work great alongside lazy jacks)
A lot of cruisers end up running both lazy jacks and a stack pack. The combination gives you an almost foolproof system for handling the main. Drop the sail, it falls into the cradle, zip up the stack pack, and you are done. It looks clean at the dock and protects the sail from UV when you are anchored for a few days.
Historical Context
Frustrated by the chaos of dropping big gaff-rigged sails with five-man crews, old-time sailors rigged lines from the mast to the boom to catch the canvas as it came down. This setup was born out of pure necessity — commercial sailing vessels could not afford to have crew members getting tangled in sailcloth. This basic idea took off over the centuries and eventually evolved into the lazy jack systems cruisers know and rely on today.
What changed over the years was really just materials and refinement. Hemp lines gave way to Dacron and then to low-stretch synthetics. Bronze hardware became stainless steel. But the fundamental concept — run some lines from the mast to the boom and let them catch the sail — has not changed in hundreds of years. That’s the kind of simplicity that survives because it works.
Final Thoughts
If you are sailing shorthanded or solo, lazy jacks are one of the best upgrades you can make. The parts cost under a hundred dollars, installation takes a Saturday morning, and the difference in how manageable your mainsail becomes is night and day. I would not leave the dock without them.


Stay in the loop
Get the latest sail the seas mag updates delivered to your inbox.